
The Bone Broth Recipe We Use
Buying Bones for the Bone Broth
The most critical factor when following a bone broth recipe is the quality of the bones you use. Do your best to source the highest quality bones possible from pasture-raised/free-range animals that are grass fed and have not been subjected to antibiotics, growth hormones, insecticides and herbicides. This will produce the most nutritious broth. Click here to read more about the nutritional benefits of bone broth.
You can purchase raw bones from a butcher, Full Sircle Farms, other local farms, or use bones leftover from cooking. For example, if you make a bone-in roast, country ribs, T-bones and others, save the bone(s) to make

bone broth. If you cook a chicken, save the carcass. If you don’t want to make broth right away (or you don’t have enough bones), simply place the bones in a sealed freezer bag and store in the freezer until you’re ready. When it’s time to make broth, you don’t even need to defrost the bones first.
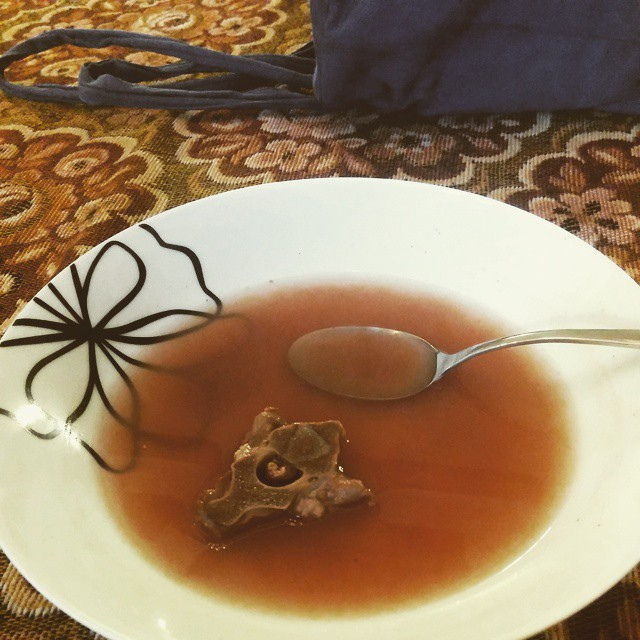
When purchasing bones strive to get a variety of bone types which will ensure you’re getting marrow, cartilage, and gelatin in your
broth. For making beef or lamb bone broth, be sure to ask your supplier for both a joint bone and marrow bones. Remember to get the cleanest possible bones that you can find for any bone broth recipe that you decide to use.
For more about the benefits of bone broth, Click Here.
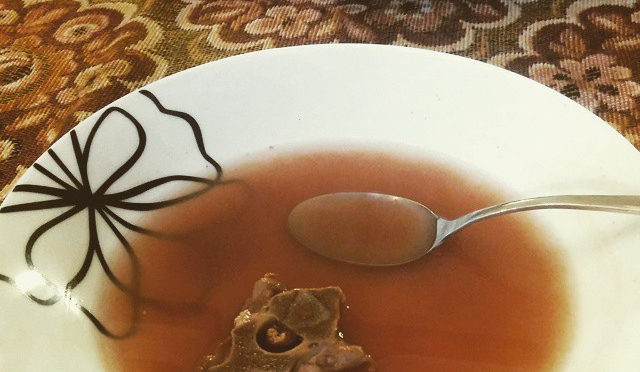
Bone Broth Recipe
This Bone Broth Recipe will teach you how to make the purest and most savory bone broth. There are many variables, feel free to experiment to create the both broth recipe that stimulates your individual taste buds.
- Blanch the bones first. If you think your past broth was too pungent, you’ve probably had a mug or bowl that was made without blanching. This step, to be done before roasting and boiling, removes any impurities from the bones. To blanch, cover the bones with cold water, bring to a boil, and let them cook at an aggressive simmer for 20 minutes before draining and roasting.
- Roast the bones. This caramelizes them and caramelization leads to better flavors. Don’t worry about overcooking them in the oven, set the temperature at 400-450˚ for 20-30 minutes at least until brown and/or brown around the edges. Take the crispy brown crumbles left on the bottom of the pan; loosen them with a spatula, and then add them to the pot. Roasting is totally a taste preference and is not required. In any case, it is only for beef, lamb, or wild game bones. Roasting is not a necessary step for bone broth made with poultry or fish.
- Place the roasted bones into a large stock pot or crock pot and cover with filtered water. Add just enough water to cover, bring to a boil, lower the heat to a simmer, and cover. The bone-to-water ratio should be close enough so that the resulting broth is well flavored. Delicious bone broth doesn’t need much more than bones and a few choice aromatics. Use onions, garlic, and black pepper. You may want to add a few carrots and celery later in the process, but this is not the best place for sweetness. Keeping the flavor focused is always a good bet. The roasting process itself will build depth and complexity.
- Add two tablespoons of an acidic substance (eg. apple cider vinegar or lemon juice) to the water prior to cooking. The acid acts as a solvent, helping to pull calcium and other vital minerals from the bones as it slowly simmers on the stove top.
- Heat slowly, gradually bringing to a boil and then reduce heat to a simmer. Skim off any scum that floats to the top with a strainer.
- Cook long and slow. Cook chicken bones for at least 8 to 24 hours (up to 48 hours). Beef bones can cook for 12 to 48 hours (and even up to 72 hours). A long and slow cooking time is necessary in order to fully extract the nutrients in and around the bones. You may need to add additional hot water as the broth simmers and evaporates to keep the bones covered. We typically simmer ours for 36 hours.
- If you want to add vegetables to the mix, add them 1-2 hours before finishing. That way they don’t dissolve in the broth but add flavor and nutrients. Optionally, add bunch of fresh parsley 10-15 minutes before removing from heat.
- Once broth is ready, remove from heat and allow broth to cool enough so you can handle the pot. Then cool the broth as quickly as you can. This will also keep the broth fresher for longer. Once you’ve strained out the bones and vegetables consider placing the covered pot in ice bath in the sink or in a cold area to cool it as fast as possible. Don’t put a hot pot in the refrigerator.
- Once you have removed the bones and any solids and cooled the broth, strain through a fine mesh strainer. We use a specially bought really fine strainer followed by a gold coffee filter.
- Lastly, ladle as much as you think can be used for cooking/drinking purposes over the course of 3 or 4 days. Store that amount in an airtight storage container in the fridge. Whatever’s left over freeze it. Tip: Freeze the broth in usable portion sizes. Try freezing the broth with silicone baking molds used for muffins. Easy to remove and a perfect size for cooking and enjoying by the cup.
 Based on 3 Review(s)